windows-fixes
How to Screen Record on Windows 11 (No Watermark Shortcuts)
On This Page (14 sections)
Troubleshooting a stubborn Windows update loop or stop code? Paste your error code (0x800f081f, 0x124, 0x1e, 0x8024200d) for an instant triage script.
decode your stop code with our Windows Error FixerQuick direct answer: To screen record on Windows 11, press Win + Shift + R to launch the native Snipping Tool video recorder. Select the screen region you want to capture, toggle audio, and click Start. To record an active software window or game immediately, press Win + Alt + R for Xbox Game Bar. Both tools are built into Windows 11 with zero watermarks.
We have all encountered this dilemma on workbench PCs. A software bug occurs during testing. Or a teammate needs a short video walkthrough of a deployment script.
Searching Google for screen recording tools usually yields shady freeware sites. Many promote trial tools that stamp huge ugly watermarks across your video or lock export behind a subscription.
You do not need to download third-party bloat. Modern Windows 11 contains two native, hardware-accelerated screen recorders built directly into the operating system.
Our team tested these tools across our test bench rigs on Windows 11 24H2. Below is our complete runbook to capture crisp, watermark-free video in seconds.
1. How to Screen Record on Windows 11 with Snipping Tool
The native Snipping Tool is our top recommendation for everyday Windows tasks. It captures your entire desktop, specific windows, or cropped screen regions with zero hassle.
The Direct Answer:
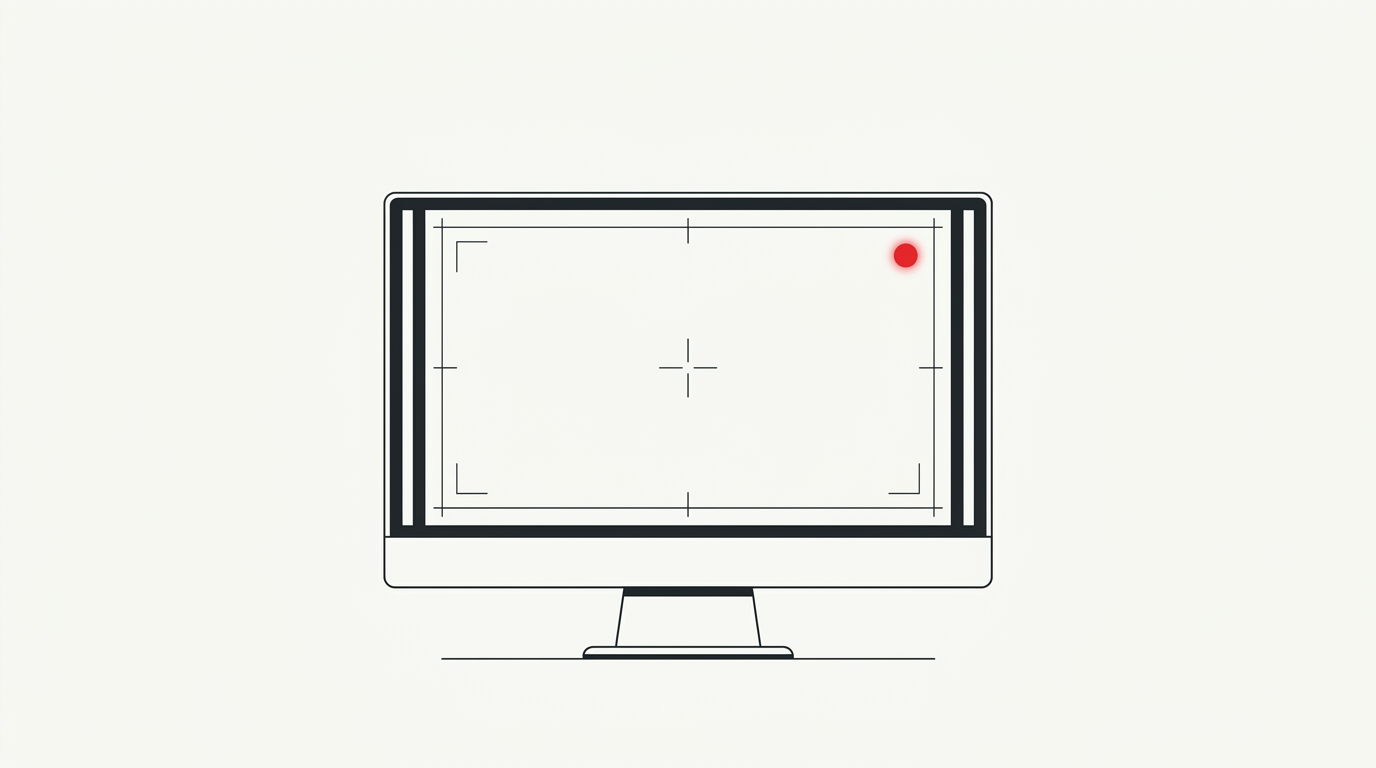
To record any screen region in Windows 11, press the Windows key + Shift + R keyboard shortcut. Windows dims your screen and displays a crosshair cursor. Click and drag a rectangular bounding box over the exact area you wish to record. A floating control toolbar appears at the top of your display. Click the red Start button to begin recording after a 3-second countdown timer. You can toggle your microphone and system audio directly from the toolbar before recording. When finished, click the red square Stop button. Your video opens inside Snipping Tool as a clean MP4 file ready to save or share.
Follow these step-by-step instructions on your machine:
- Press Windows + Shift + R (or open Snipping Tool from the Start menu and toggle the Record camera icon).
- Your cursor transforms into a precision crosshair. Click and drag to select your recording zone.
- At the top of your screen, check the audio icons:
- Click the Mute/Unmute microphone icon to record your voice.
- Click the System audio icon to capture computer sound.
- Click Start. A 3-second countdown begins.
- Demonstrate your workflow. When you finish, click the blue or red Stop button on the floating top bar.
- The preview window opens. Click the Save as floppy disk icon (
Ctrl + S) to store your MP4 file in your Videos or Desktop folder.
[SNIPPING TOOL WORKFLOW]

Win + Shift + R -> Drag Bounding Box -> Toggle Mic/Audio -> Start
                                                               |
                                                               v
                                                    Record -> Stop -> Ctrl + S
2. Fast Window Capture with Xbox Game Bar (Win + Alt + R)
While Snipping Tool lets you crop arbitrary screen regions, Xbox Game Bar excels at recording dedicated application windows and PC games at higher bitrates.
The best feature of Game Bar is its instant hotkey. You do not need to drag selection boxes. Pressing one shortcut starts recording immediately in the background.
Step 1: Open Your Target Application
Launch the software or game you want to capture (e.g., Chrome, VS Code, or a 3D application).
Step 2: Trigger Instant Recording
Press Win + Alt + R on your keyboard.
A small recording timer appears in the upper-right corner of your screen showing elapsed seconds and a microphone toggle button.
Step 3: Stop and Retrieve the Video
When your session ends, press Win + Alt + R again (or click the square Stop icon on the timer widget).
Windows saves the file immediately to:
C:\Users\<YourUsername>\Videos\Captures\The Critical Game Bar Limitation
Have you ever pressed Win + Alt + R on your desktop and seen this error?
“Gaming features aren’t available for the Windows desktop or File Explorer.”
This is not a bug. Microsoft designed Xbox Game Bar to capture single running application windows. It deliberately blocks capture of the Windows desktop and File Explorer to prevent accidental recording of private files.
If you need to record your desktop, taskbar, or File Explorer folders, always use Snipping Tool (Win + Shift + R) instead.
3. Comparing Windows 11 Screen Recording Methods
Each tool serves a specific use case depending on what you are recording:
| Feature / Metric | Snipping Tool (Win + Shift + R) | Xbox Game Bar (Win + Alt + R) | OBS Studio (Open Source) |
|---|---|---|---|
| Best For | Desktop, File Explorer, tutorials, bug clips | Games, single app windows, fast hotkey | Multi-track audio, streaming, webcams |
| Custom Crop Region | Yes (Arbitrary pixel box) | No (Full active window only) | Yes (Custom canvas & scenes) |
| Desktop / Taskbar Capture | Yes | No (Blocked by Microsoft policy) | Yes |
| Watermark | None | None | None |
| Max Framerate | 30 FPS (Standard) | Up to 60 FPS | Up to 120 FPS |
| File Format | MP4 (H.264) | MP4 (H.264 / HEVC) | MKV, MP4, MOV |
| Installation Needed | Built-in (Pre-installed) | Built-in (Pre-installed) | Free download (obs-project.com) |
4. When to Upgrade to Free OBS Studio
For 95% of everyday office and developer tasks, Snipping Tool and Game Bar are all you need. However, our team switches to OBS Studio (Open Broadcaster Software) in three specific scenarios:
- Picture-in-Picture Webcam: When recording product demos or client presentations that require your face in the corner.
- Multi-Track Audio Separation: When you want microphone audio recorded to Track 1 and Discord/game audio to Track 2 for post-editing.
- High Framerate Benchmarks: When evaluating GPU stutters or high-refresh gameplay where 30 FPS recording masks micro-stutters.
OBS Studio is 100% free, open-source, and contains zero ads or watermarks. If your recording needs outgrow native Windows tools, avoid paid scamware and download OBS directly.
5. Troubleshooting Common Windows 11 Recording Problems
During our test bench runs on Windows 11 24H2, we documented three common snags and their verified fixes:
Issue 1: Snipping Tool Shortcut (Win + Shift + R) Does Not Respond
If pressing Win + Shift + R does nothing, your Snipping Tool package may be outdated.
- The Fix: Open the Microsoft Store, navigate to Library in the lower left, and click Get updates. Ensure Snipping Tool updates to version 11.2307 or higher.
Issue 2: Microphone Audio Is Completely Silent
If your recorded video has system sound but no microphone voice:
- The Fix: Press Win + I to open Settings. Go to Privacy & security > Microphone. Verify that Let desktop apps access your microphone is toggled On, and check that Snipping Tool has permission.
Issue 3: Video Stutters or Drops Frames
If video playback feels choppy:
- The Fix: Turn on Hardware Accelerated GPU Scheduling. Go to Settings > System > Display > Graphics > Change default graphics settings. Toggle Hardware-accelerated GPU scheduling to On and restart your computer.
6. Summary Checklist
- To capture a specific area of your screen: Press
Win + Shift + Rfor native Snipping Tool. - To record an active app or game window instantly: Press
Win + Alt + Rfor Xbox Game Bar. - To find your saved recordings: Check your
Videos\Capturesdirectory or the Snipping Tool save prompt. - To recover saved wireless credentials: Check our companion runbook on how to find WiFi password on Windows 11.
- To explore more native utilities: Browse our Windows 11 Everyday Essentials Hub.
Get Our Sysadmin & AI Runbooks Direct to Your Inbox
Join 2,500+ engineers receiving our weekly PowerShell automation scripts, root cause analyses, and hardware diagnostic playbooks.
Frequently Asked Questions: How to Screen Record on Windows 11 (No Watermark Shortcuts)
What is the shortcut to screen record on Windows 11?
Why does Xbox Game Bar say gaming features are not available for desktop?
Does Windows 11 screen recording have watermarks or time limits?
How do I record internal computer audio with my microphone?
Official Technical References
- Microsoft Support: Use Snipping Tool to capture screenshots and screen recordings — Microsoft Corporation
- Microsoft Support: Record a game clip on your PC with Xbox Game Bar — Microsoft Corporation
Add PraveenTechWorld as a preferred source in your Google Search results.
Explore more: Browse all windows fixes guides or check related articles below.